
Like many other crafters, I tend to pick up random items and pieces of furniture at yard sales with the goal of refurbishing them into something spectacular and new. And when I bring them home, my hubby usually gives me a supportive nod...but really inside he's probably really thinking "oh lord, not another piece of junk!"
I think that was the case when I brought home a particular dresser one evening after I stopped by a friend's yard sale. I think I paid like $7 bucks for it. It had been stored in a barn and was pretty dirty and had a bunch of lovely mouse pellets inside of it. It didn't look very good, but it was sturdy - and I had big plans for it.
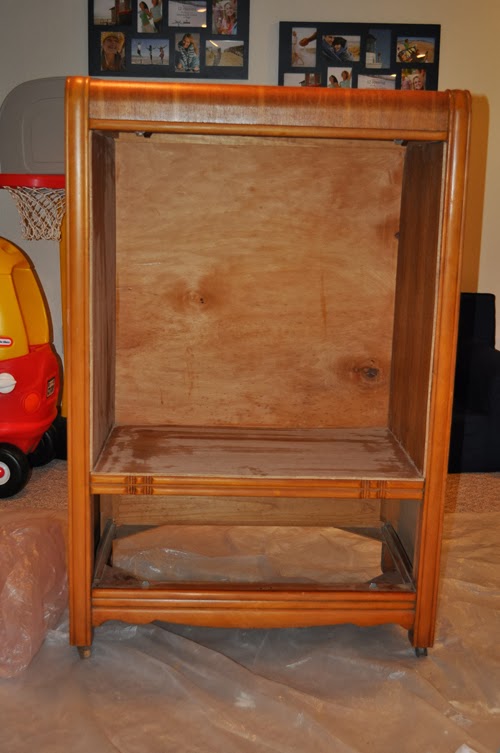
Now, I forgot to take a before picture (actually I forgot to take a lot of pictures - bad blogger), so imagine this dresser without the piece of plywood on top of the spot for the last drawer. It started out with four drawers and we kept just the bottom drawer to hold her accessories. (And actually I kept the other drawers....any ideas on what I can do with them?)
We cleaned it up well with soap and water and removed the rusty old wheels off of the bottom. Then, the hubby cut down a few pieces of plywood to put around the inside to make it flat (and so nothing could fall through the dresser).
Now we get into the fun part....the five coats of paint it took to cover this thing. Yes, I said five coats.
I had read about Annie Sloan Chalk paint on many of my favorite blogs. A ton of people use it and love it, because you don't have to sand or prime it. So, that was our plan - go the easy route and use a plain white chalk paint. Well apparently we had chosen a special dresser with an extra special varnish on it, because we did two layers of chalk paint and it just kept bleeding through.
So, we gave up on our idea and decided to use Kilz to prime it and then cover with just a plain white semi-gloss paint. Because we didn't paint it with normal matte paint initially, there is a little bit of 'texture' to the dresser, but honestly, it looks great regardless. Plus, this is a 'play' piece, not meant to be some fancy refurbished dresser.
So, we (and by we, I mean my awesome husband who did all the painting while I was sick for a week right after Thanksgiving) gave it a coat of Kilz and then two coats of paint.

Then we covered the insides and lined the drawer with this cute polka dot wrapping paper from Hobby Lobby. We were going to use contact paper, but it was going to be a lot more expensive. Plus, I liked the idea of being able to change the look of the inside when we re-do our daughter's room in a year or two.

The next step was to add the hardware. We added a rod on the inside to hold her dress up clothes on hangers.

We also added two of these satin nickel coat hooks to either side to hold her necklaces, purses, hairbands, etc. (the ones in the middle).


Finally, we added a satin nickel pull to the front for easy access to her princess accessories!

And wa-la! The final product for Christmas morning!

She was pretty happy about getting the biggest present of the group. :)


And at it's final spot in her room! We've been having lots of dress up parties in the past couple weeks!
This is simply AMAZING! I have a daughter who's only 2 and already dresses up as a princess, she would love something like that! Thank you for sharing this great idea for a present!
ReplyDeleteAh, thanks Giulia! It was so fun to make - and she uses it almost every day!
DeleteThanks for stopping by!